

Shimano GRX Di2 Components: Getting Rolling – by MG
We’ve been talking about Shimano’s new GRX components for nearly five months now. Back in September, we introduced you to our review of the GRX 800 mechanical (2x) group. Now, it’s time to give you the first installment of our GRX Di2 groupset review, which we have installed on our 2020 GT Grade Carbon Pro test bike.
Use these links to catch up on our earlier Shimano GRX-related posts:
- GT Grade Carbon Pro: Getting Rolling
- Gritty Take: Notes From the Shimano GRX Press Intro
- Shimano GRX 800 Components: Getting Rolling
- Gritty Take: Why Shimano GRX Is a Big Deal
- Gravel Grinder News: Shimano Debuts First Dedicated Gravel Road Group – look here for specs, weights and prices
Fans of 1x drivetrains will be stoked to learn that Guitar Ted is gearing up to review the 1x variant of Shimano’s GRX 800 mechanical group. Look for that review to begin soon.
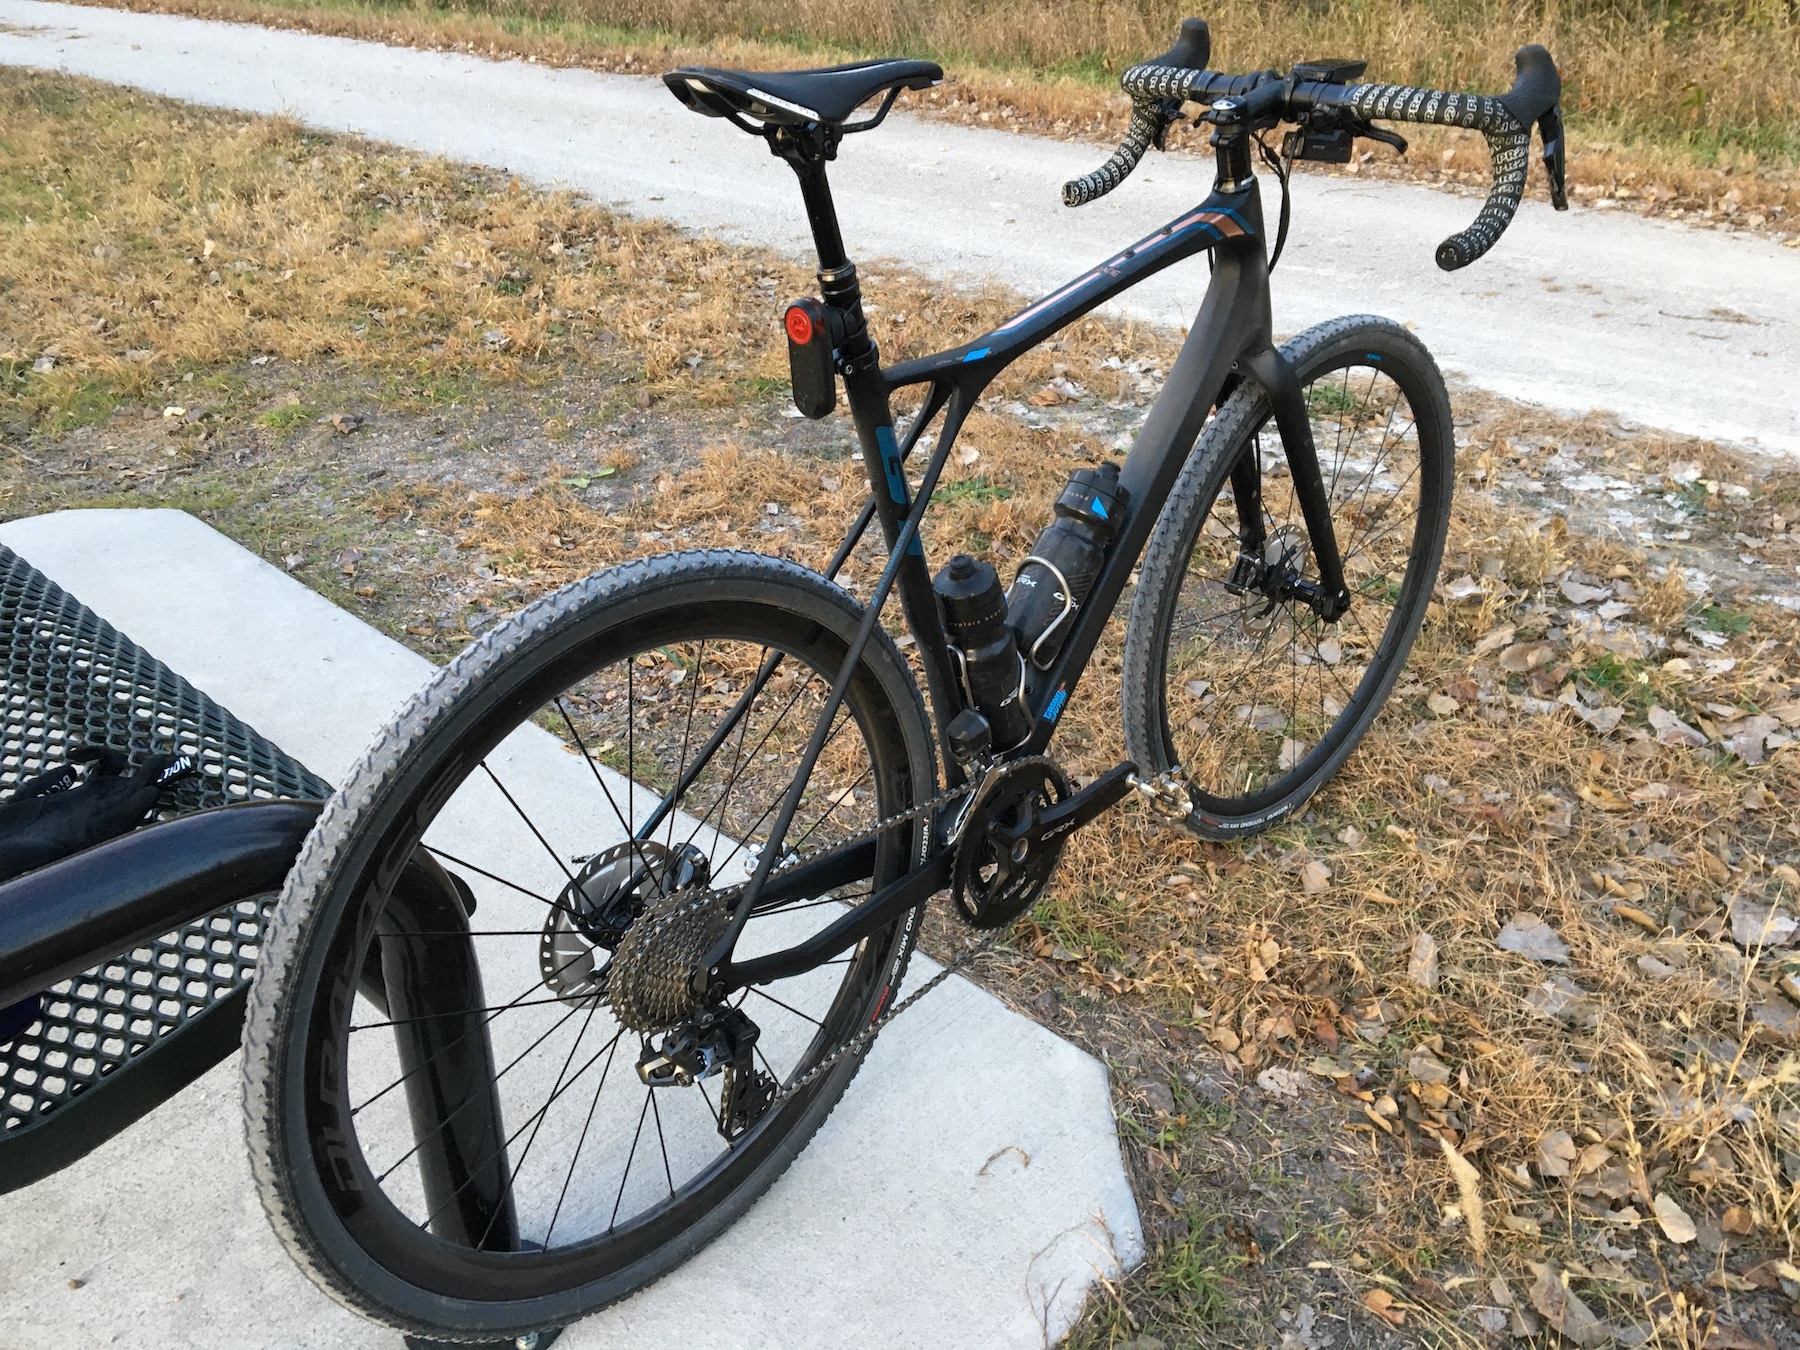
The GRX Di2 Installation – Lots of Options
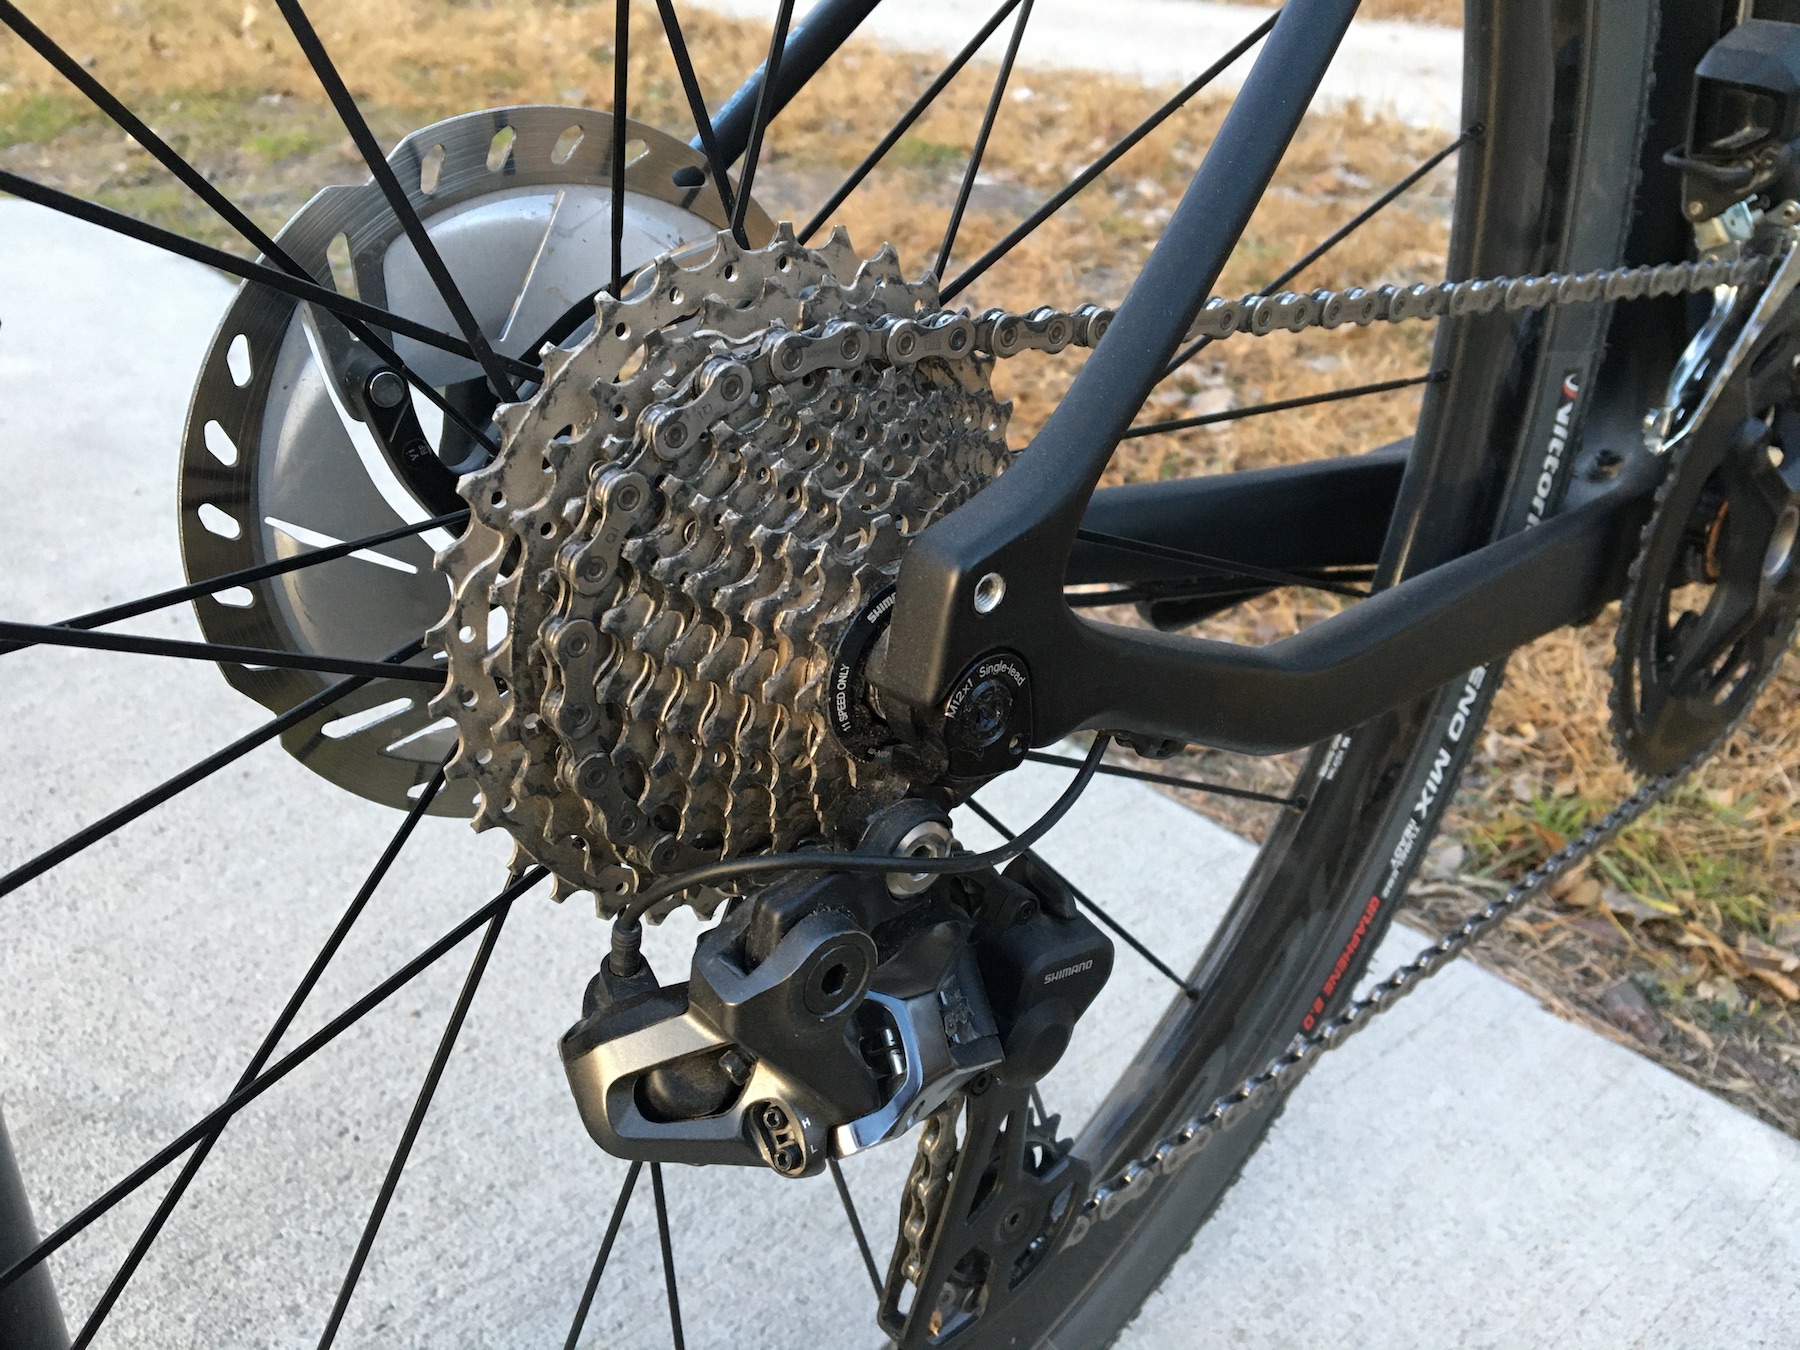
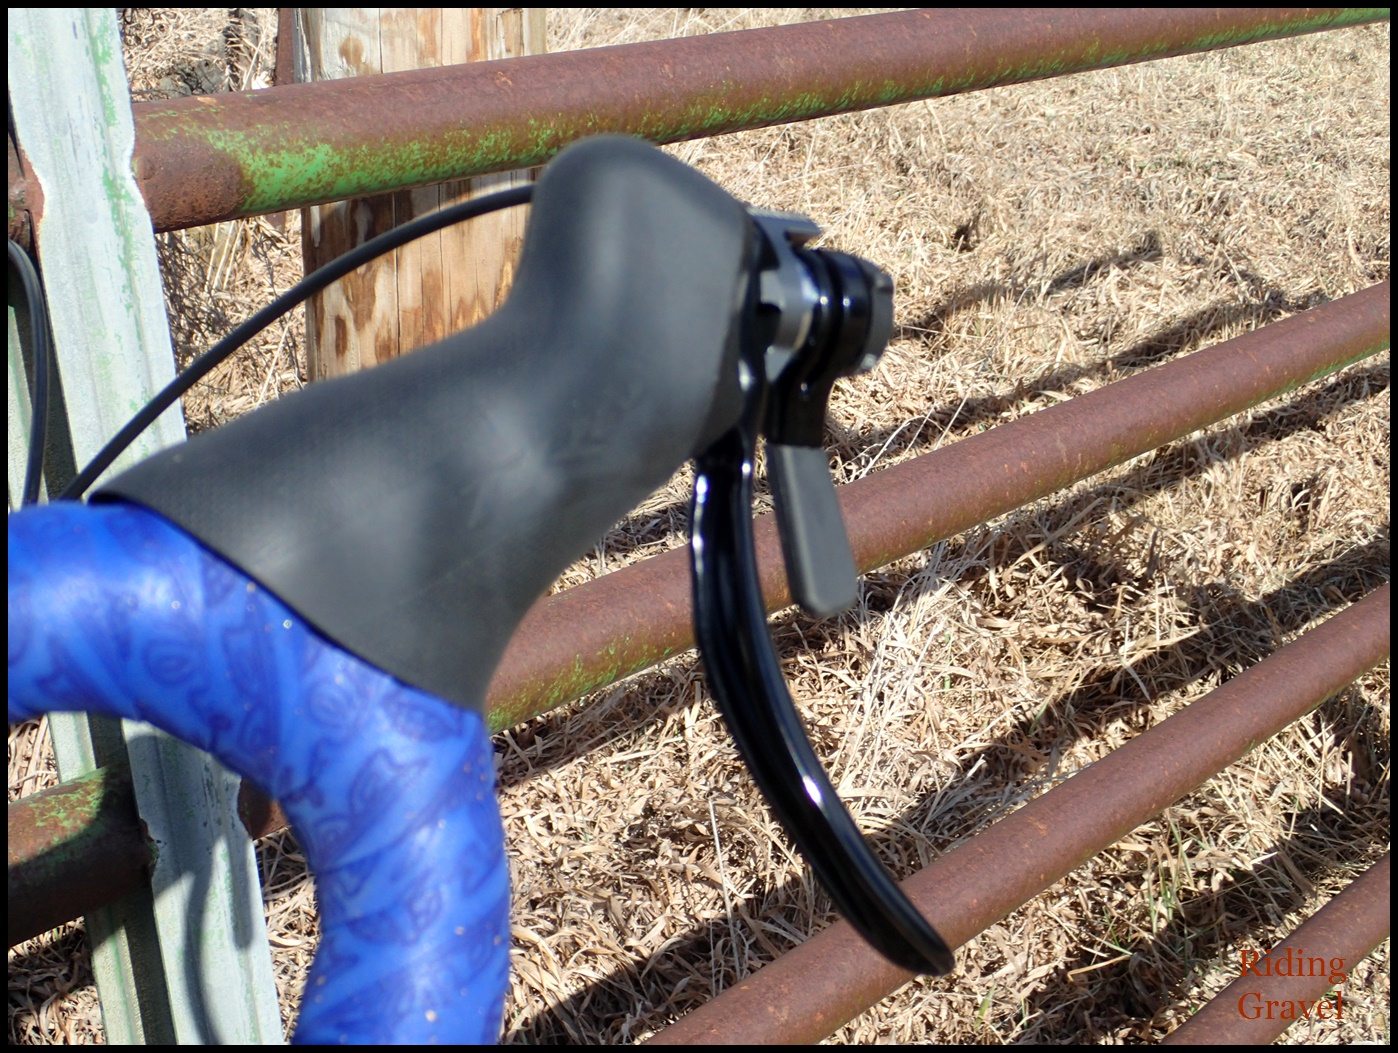
The first challenge when building a bike up with Shimano GRX is deciding which options you want for your bike. Since we went pretty basic on my GRX 800 mechanical tester, I decided to go with a more robust set of options on the GRX Di2 bike. I stuck with a 2×11-speed drivetrain configuration (31/48t front, 11-34t rear), but went ahead with options including the bar-top hydraulic brake levers and remote shift buttons on the bar tops.
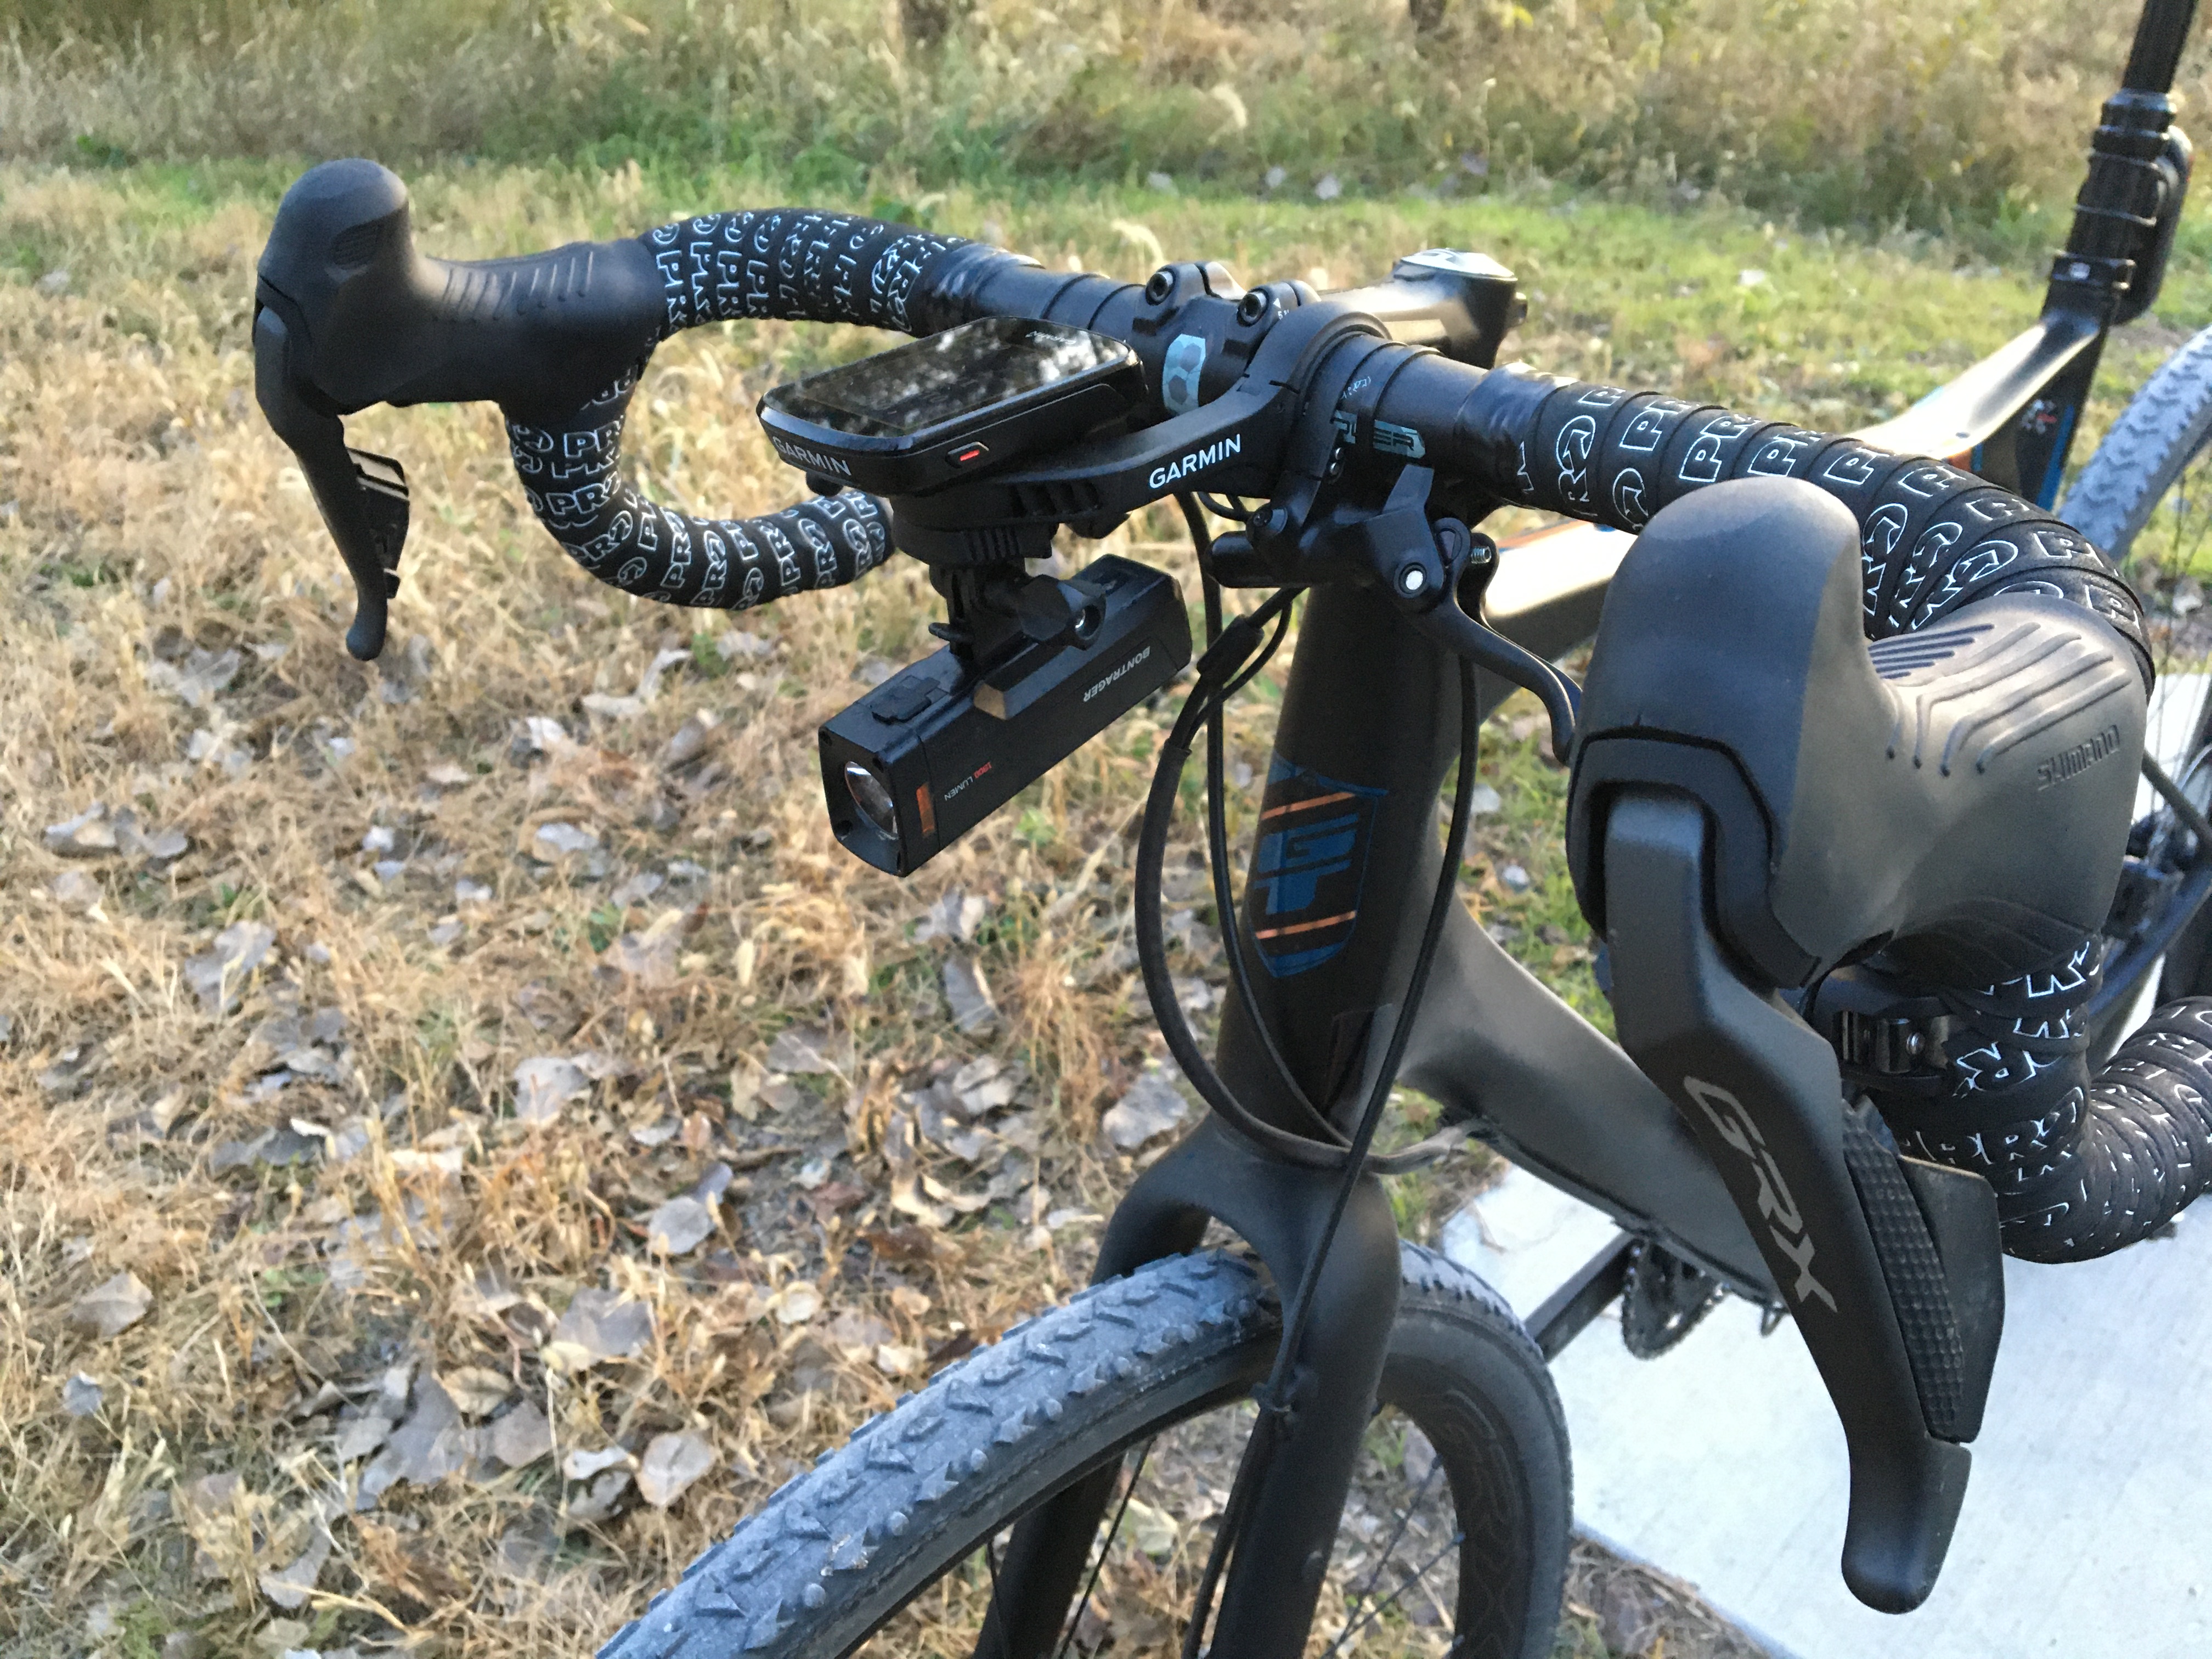
For the touch points, I took advantage of a number of the new gravel components from PRO Bike Gear, including the Discover internally-routed dropper post and drop bar lever, Discover medium-flare drop bar and Discover forged alloy stem. A PRO Stealth saddle, Sport Control Team bar tape and Shimano PD-M9100 XTR SPD pedals round out the super dialed cockpit spec.
Shimano built our test bike up with its new GRX wheelset, which features 21.6mm internal, 25mm height alloy rims, straight pull butted spokes and Shimano’s renowned cup and cone bearing system. The nicely finished alloy rims use offset drilling to reduce dish on both front and rear wheels. Shimano claims a weight of 1,650 grams for our 700c set, which is very light for a wheels that retail for just $420/set. They’re also available in both 650b and 700c versions, which makes them an awesome, cost-effective upgrade for a lot of folks riding on stock wheelsets weighing more than 2,000 grams (thinking of the Cannondale Topstone 105 I reviewed earlier this year).
From my perspective, the 2020 GT Grade Carbon Pro is an ideal frameset for the GRX Di2 installation. While traditional derailleur cables and hoses are routed externally, the frame includes routing for internal Di2 wiring. It’s clean, well-executed and easy to maintain, when maintenance is needed. Best of all, the internal Di2 routing allows me to run an internal (seatpost-mounted) battery, which charges via a plug in the right-side handlebar-mounted Di2 junction box. It looks clean and has functioned flawlessly so far.
I recently uploaded my Getting Rolling post for the Grade Carbon Pro, so be sure to check that out as well.
Getting Rolling on GRX Di2
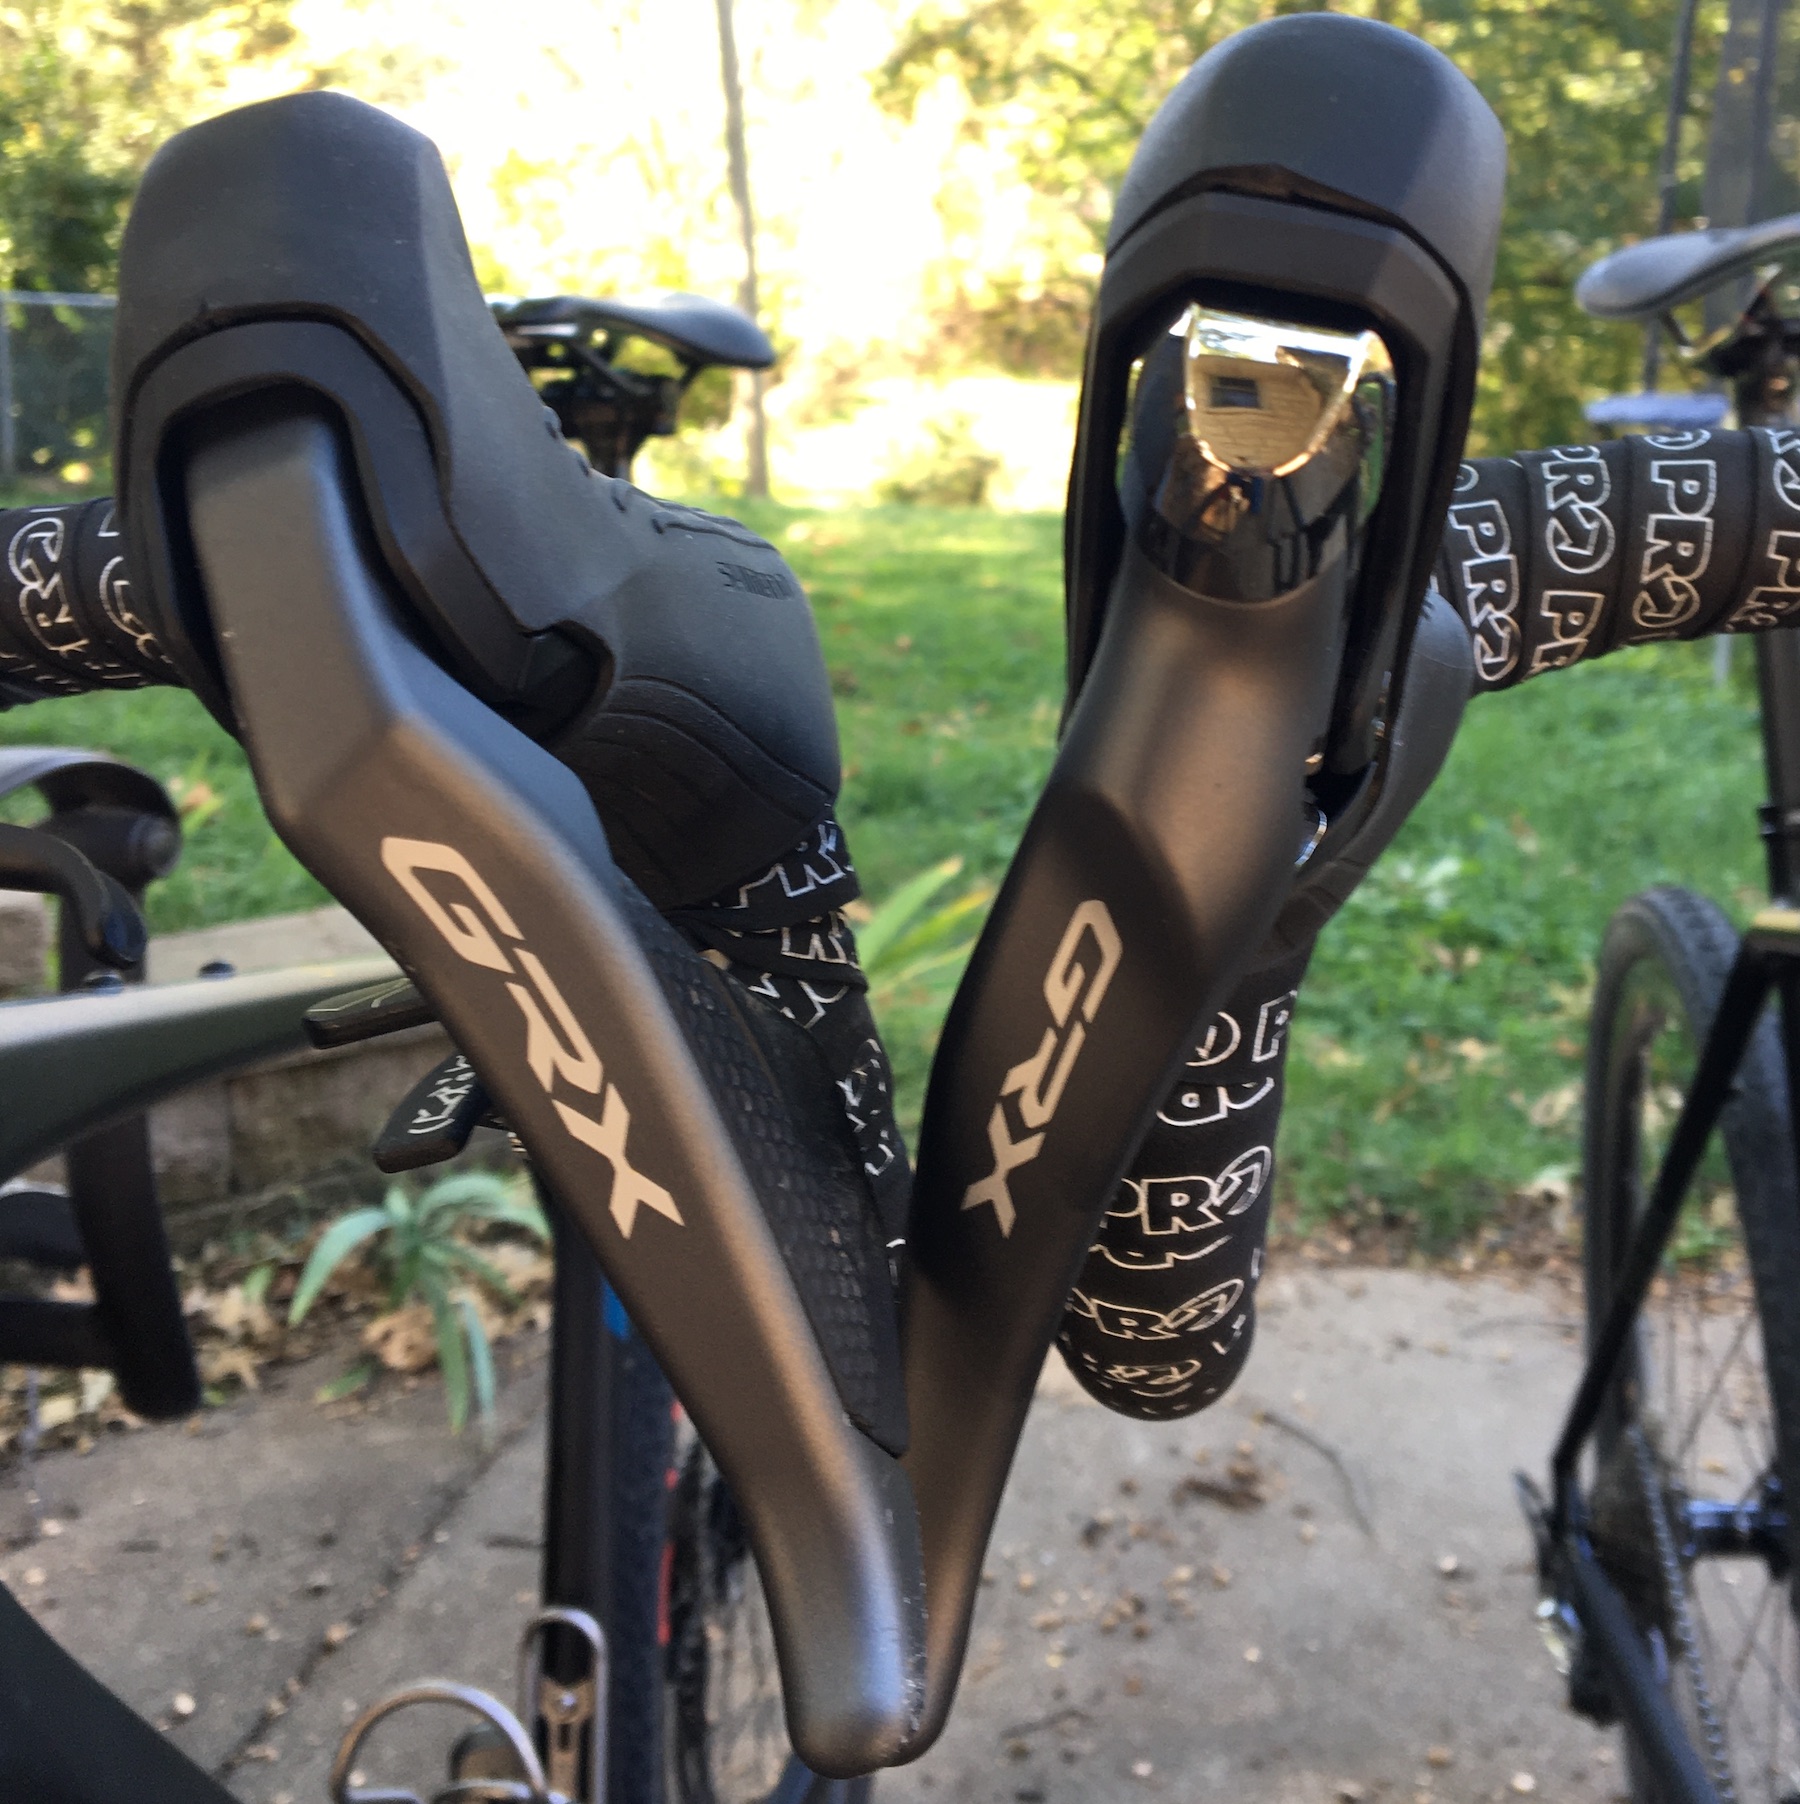
My first rides on the GRX Di2-equipped GT Grade Carbon Pro took place in Montana, during Shimano’s GRX press launch. On the rough, rocky roads and trails we rode, I immediately noticed the revised shape of the GRX Di2 levers. The raised pivot point and next generation ergonomics made descending rough terrain easier.
Braking was very strong, with enough modulation to keep everything under control. For the extended climbs we rode in Montana, the ability to brake and shift from the bar tops was very much appreciated as well.
Shifting, both front and rear, was (and continues to be) flawless. I also really appreciate the shift options GRX Di2 offers. I have our test bike set up in ‘semi-synchro’ mode, so when I make a front shift, the rear derailleur also shifts to minimize the ratio change between the chainrings.
In this setup, when I shift to the big ring, the rear derailleur downshifts two gears (to larger cogs), so the resulting overall ratio change is smaller. I make these additional compensating shifts on my analog bikes as well. It’s just that with Di2, the compensation is automatic.
GRX Di2 offers other shift options as well, from fully synchronized to fully manual. Ultimately, you can choose if and how much you want the computer to work on your behalf, and those choices are good things, from my perspective.
Back home on more familiar roads in Nebraska, I continue to appreciate the ergonomics of the GRX Di2 levers, but for different reasons. Here, I’ve found the lever hoods to be very comfortable for long stretches at a time. Plus, the ease of shifting and braking make for increased control when your hands are tired from a long day on the road.
I’m often asked about battery life on the GRX Di2 components, and I’m happy to report no issues so far. In fact, I’ve yet to see the battery level drop below 70%. Charging is quick, when necessary. I didn’t time the charging, but the bike has always been ready to go when I am, so I have no complaints.
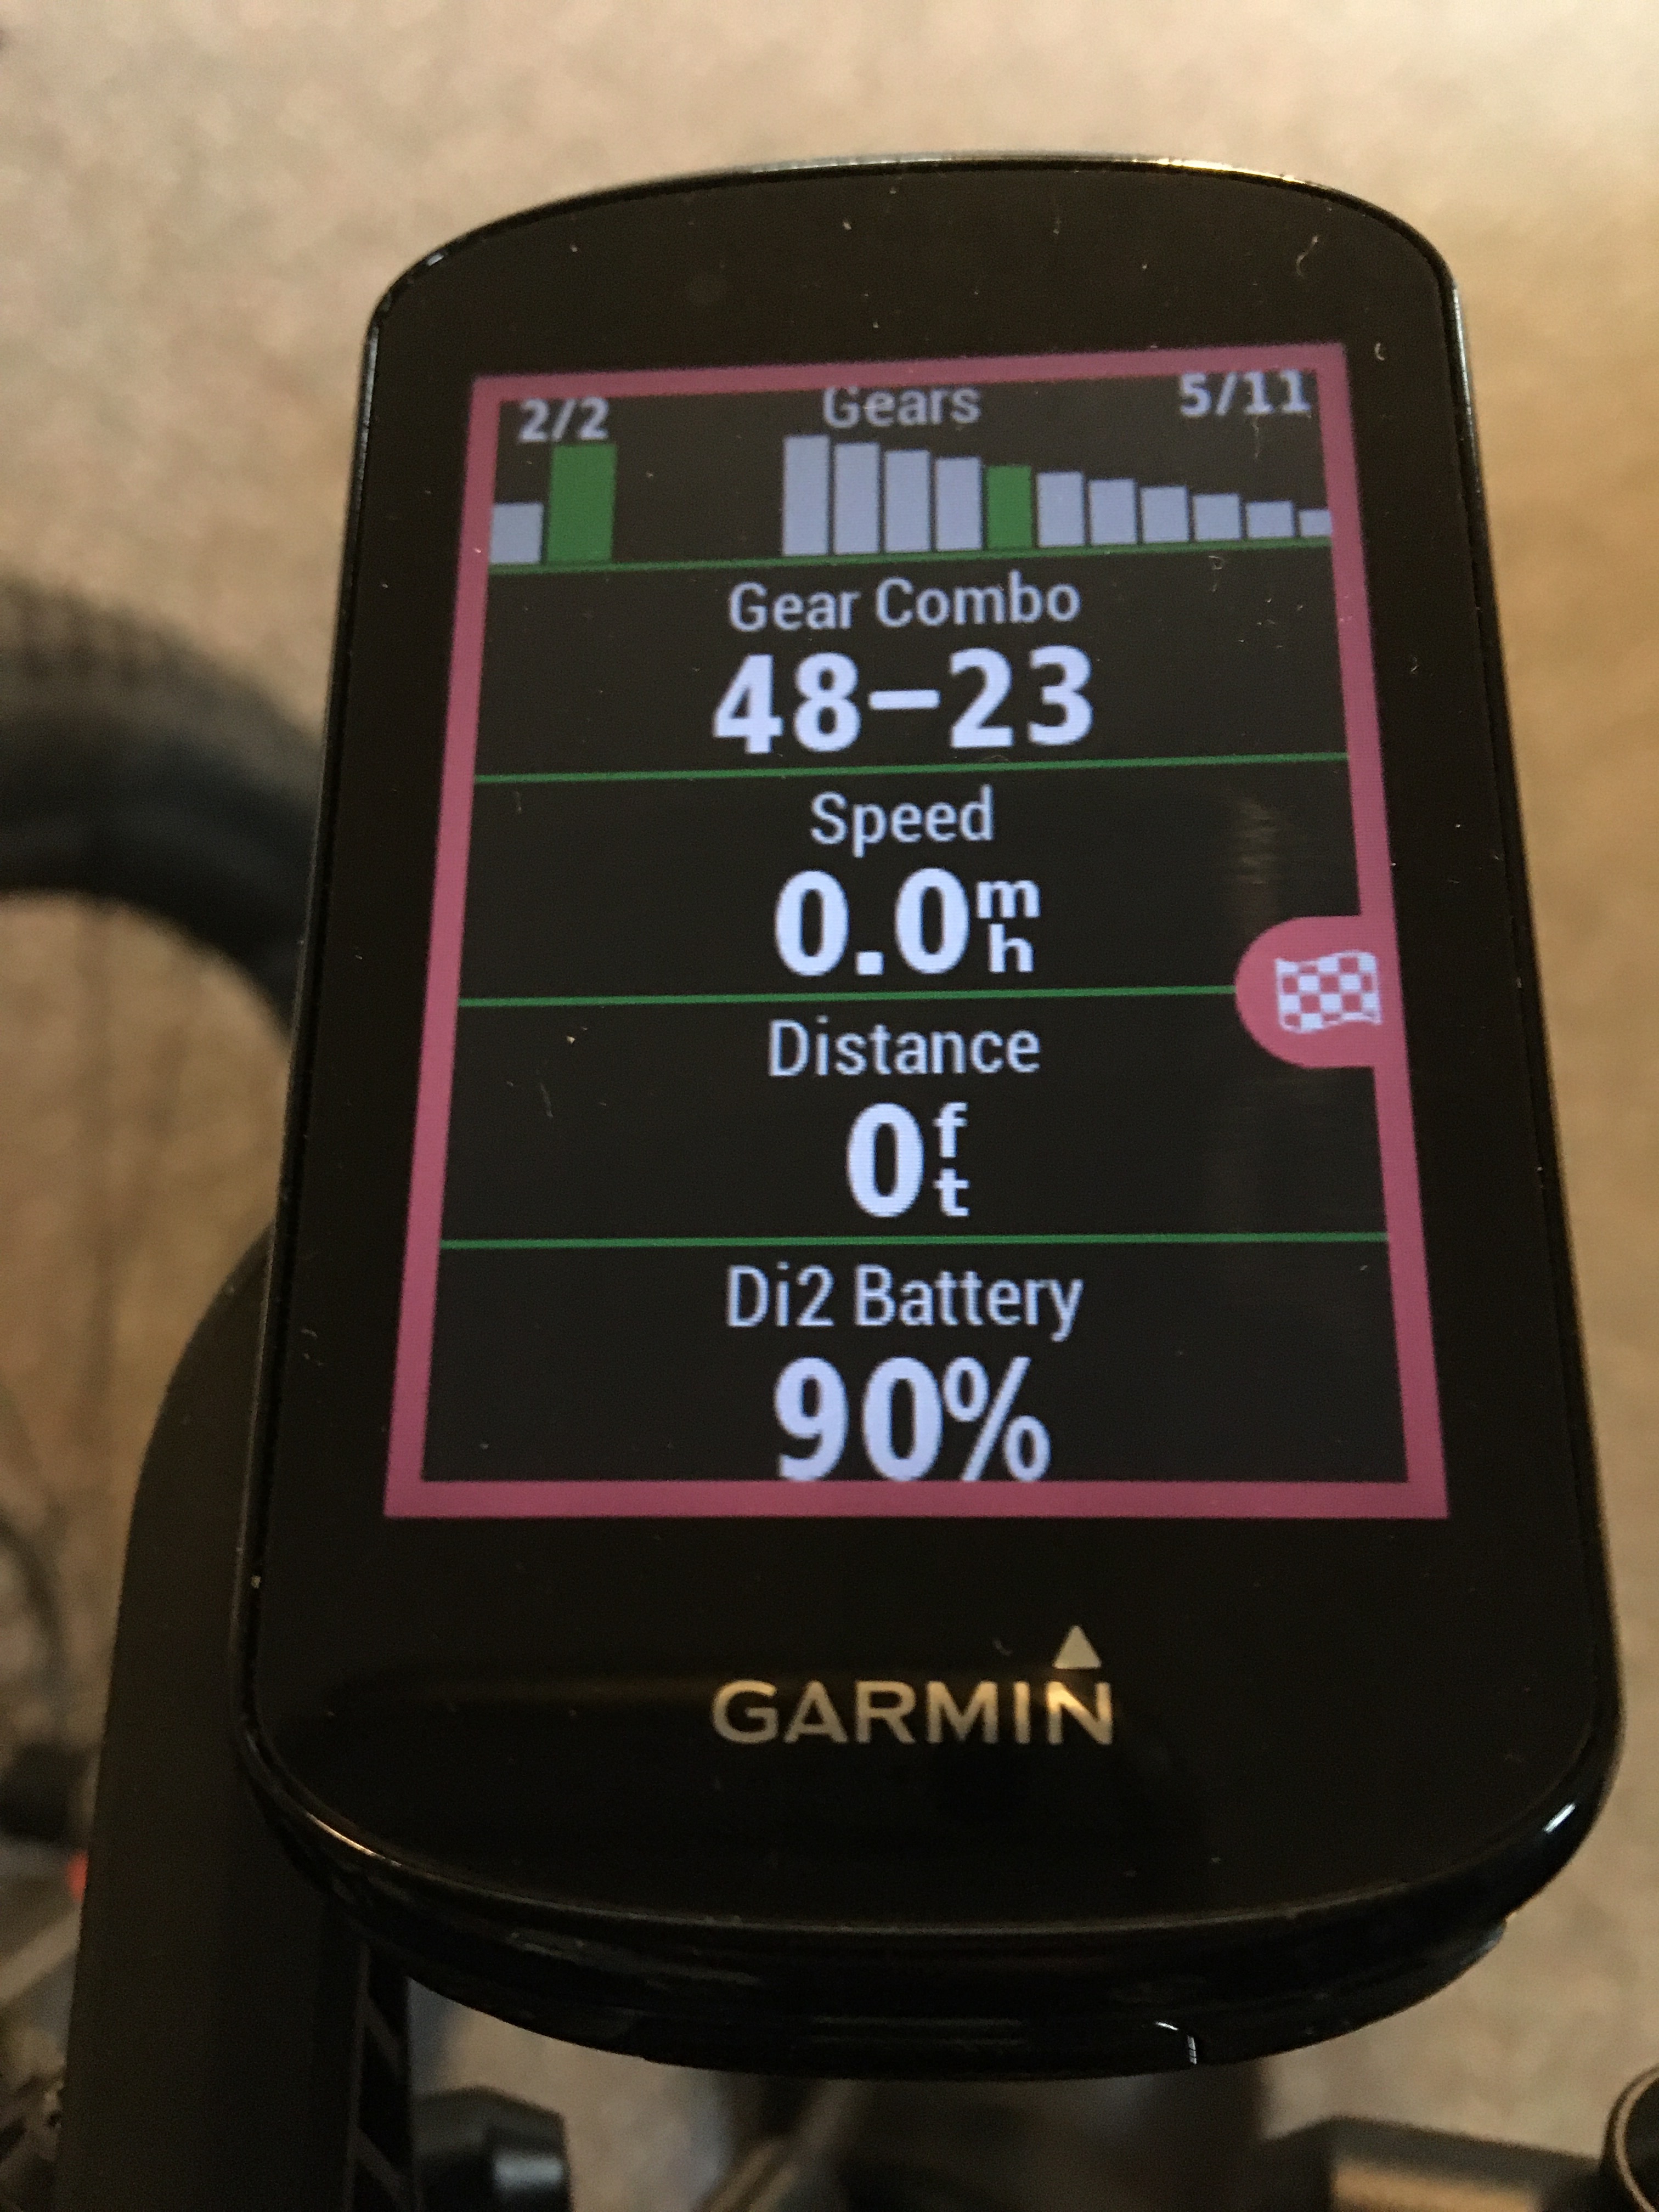
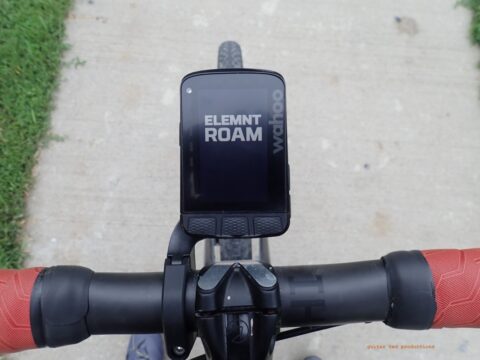
One unexpected thing I really like about the GRX Di2 group is the integrations Shimano worked on with Garmin. The result is the ability to use the buttons on the Di2 lever hoods to switch screens on your Garmin (I’m using an 830). You can also view the status of your drivetrain on-screen, from gear selection (graphically and/or numerically), to remaining Di2 battery charge and more. I’ve been shocked about how much I find myself on the Di2 metrics page on my rides to date.
Overall, my initial impressions of Shimano GRX Di2 are very positive. From the rough backcountry roads of Montana to the faster, smoother roads here in the midwest, GRX Di2 raises the bar for gravel cycling components. Time will tell if the durability enhancements Shimano built into the group materialize on the road, but so far, so good.
Once we get more miles in on our GRX Di2-equipped GT Grade Carbon Pro, we’ll post an update on our experience right here. In the meantime, you can learn more about Shimano’s GRX groupset at Shimano.com.
Please note: Shimano provided the GRX Di2 groupset for test and review at no charge to Riding Gravel. We are not being paid or bribed for these posts and will give our honest thoughts and opinions throughout.


My computer is a Lezyne, and so offers less integration than your Garmin. But I still do appreciate seeing the gear selection on my computer while riding. Yeah, I could just look down and back to SEE where I am on the cassette…But around here, in the middle of a long nasty race, I might be on a very steep and sloppy climb, maxing out my heart rate and my concentration by just trying to keep the bike moving upward and on the right line. It’s a lot easier to be able to glance quickly at the computer to see if I still have a ‘bail out’ gear or two in case the trail gets even steeper.
Oh, and that GRX crankset with 48-31 rings? Brilliant.
Do you know if the 2020 Giant Revolt Advanced Pro 0 frame has internal Di2 routing that will accept GRX? I thought I read somewhere that it does not but I’m hoping I am wrong. Thank You
I just spoke with Rick at Cycle Works, and it sounds like Di2 and the Revolt Advanced Pro should be good. Apparently a number of folks at Giant are running that setup on their personal bikes. I don’t have a bike to verify that on, but the info comes direct from the source, so it should be good.
Great news, certainly a trust worthy source! Thanks again for taking the time to look into that, it is greatly appreciated. Love the site!
Thanks for the perspective, @Koyote. I agree with your sentiments on both the computer and the GRX chainrings. What’s even more brilliant is how well Shimano has managed to get a 17t shift to work. It shifts just as well as a 34/46t jump, and that’s amazing in my mind.
@Eric: Thanks for your question. I know the 2019 Revolt Advanced tough to do a 2x Di2 installation on due to the lack of a hole in the seat tube for the eTube wire. I’m checking with my local Giant dealer (Cycle Works in Lincoln, Neb.) to see if they’ve changed that on the 2020 model, so I’ll post an update when I hear back from them.
Cheers!!
Thank you very much, I truly appreciate that.
Just bought a second hand gradedi2 i love it I wonder i did you fit the Di2 battery with a dropper seat post ?
Hey @Vincent Lefort – Thanks for your question and congrats on the new groupset. The trick for Di2 with a dropper is to zip tie the battery to the dropper cable housing just below the actuator. Point the plug down, obviously, so you can plug it in. Leave the tail on the zip tie you use, and simply coil it into the seat tube. Between the zip tie and the cable housing, it will hold secure and shouldn’t rattle.